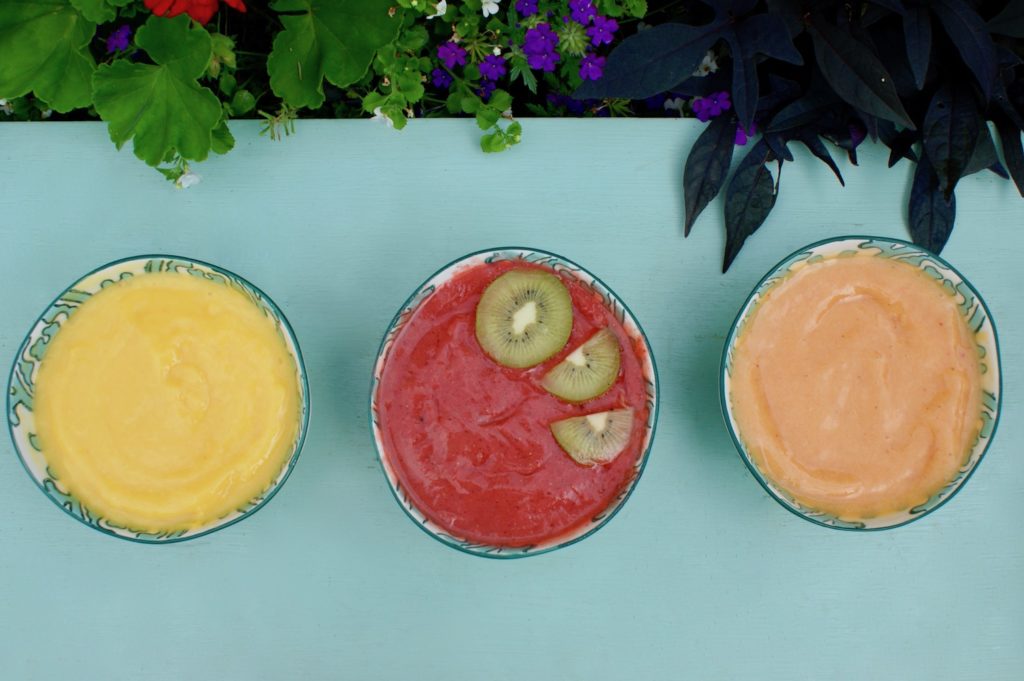
One of my absolute favorite things about summer is viewing—and eating—all the fresh fruits and berries available at my grocery store. By June, my local produce isles are stashed with strawberries, nectarines, peaches, watermelon, kiwis—even mangoes on a good day. Every time I visit I can’t help but feel like I am a kid in a candy shop, without the added sugar.

Unfortunately however, I often make the mistake of purchasing more than my weeks allowance of fruit, only to watch it bruise and rot before I have the chance to eat it. There’s no bigger crime in my book than letting good food go to waste, and I’m sure many of you feel the same.
That’s why I’ve taken to freezing and blending my fruit into homemade sorbets to make it last longer. Sorbets don’t offer the same satisfaction as biting into a big, juicy nectarine, but they do serve as a delicious melt-in-your-mouth treat. Great for a healthy snack or cold dessert on a hot day.
If you’re looking for a way to save food and eat healthy, sorbets are a great solution. You don’t have to be a master chef or culinary expert to whip one up, either! Here’s how to make a delicious summer sorbet in just 4 steps.
Hint: Before you begin, think about what flavors you want to incorporate. (My favorites are strawberry-kiwi, nectarine, and mango) The only essential ingredient in a sorbet is frozen fruit, but I typically add a splash of juice or cream to thicken and enhance the taste. If your sweet tooth calls for more or less, do what feels right for you. Making sorbet can be a trial and error process, so as long as it smells and looks good, don’t hold back.

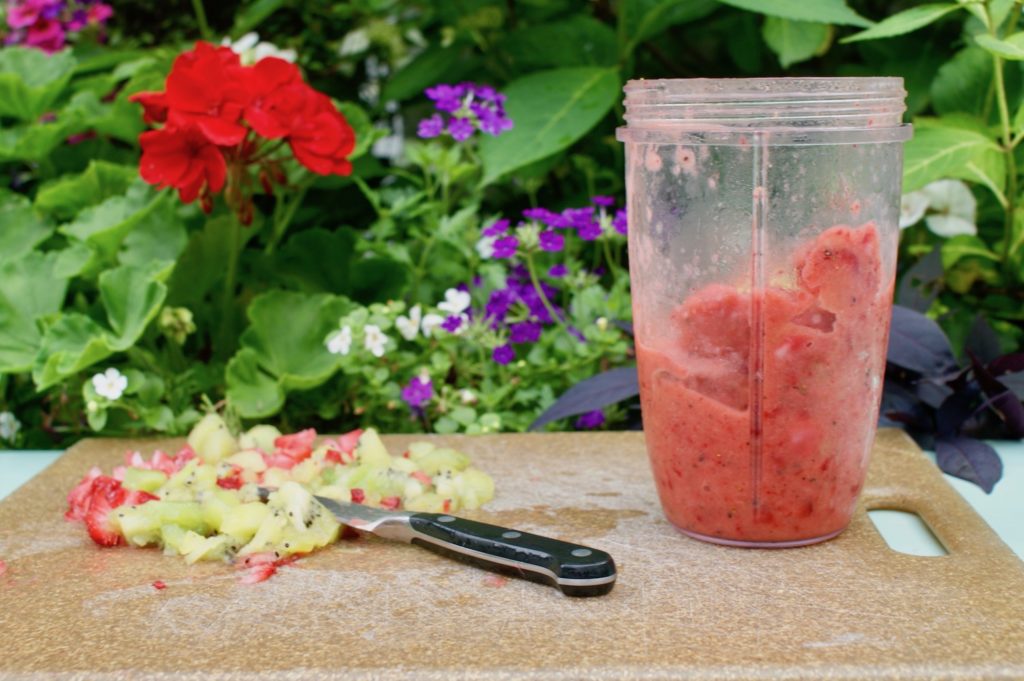
1. To start, always freeze your fruit overnight. This is necessary both for preservation and to achieve the proper consistency for your sorbet. Additionally, cutting up your fruit before you freeze it will make it easier to blend later on.

2. After waiting a night—or about six hours if you freeze it during the day—select the flavor-combo you want to create, and get your blender or food processor ready. I like to use my NutriBullet, because the blender detaches as a ready-to-use cup or bowl, and is small enough to store in my fridge and pantry.

3. Whatever product you use, remove your mixture and wait until your mixture is completely smooth to remove. Some blenders take longer than others, so you may need to run it a few more times.
4. Last, freeze your sorbet for about four more (treacherous) hours to firm-up before eating. Store the mixture in a freezer bowl so that it cools evenly and gives off the best results.

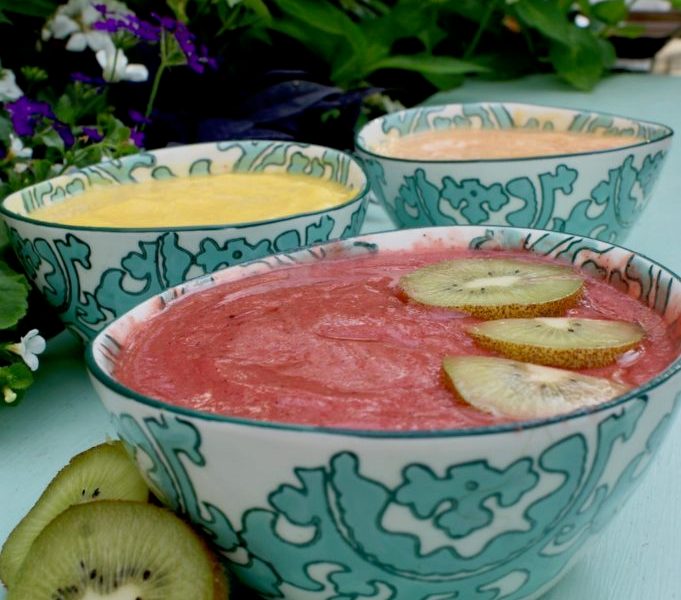
Once you are finished, sprinkle on some decorative toppings, such as sliced fruit or coconut shavings, and enjoy! Make sure to showcase your work in your cutest bowls, and invite your friends over to indulge.
Also, don’t forget to save the leftovers and write down which combos you liked best.
If you’re experimenting with different flavors, post a picture to social media, and tag @Cfashionista so we can see what you came up with!

