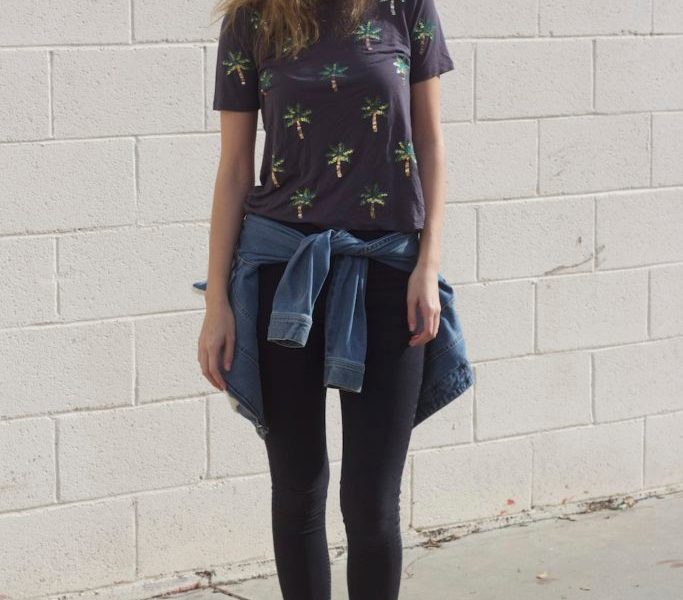
Remember the days in elementary school when you would tie up those one-size-too-big T-shirts using the hairband wrapped around your wrist? I distinctly remember one particular tie-dye T-shirt I had from summer camp that I would do this with. The little tail that would be created off your backside was one for the books. Well, gone are the days of those tails and hairbands, and here are the days of adorable, well-done knots put in your shirts to give your outfit just the perfect little detail it needs.
When I came to college, I met this Fashionista whose signature outfit was high-waisted skinny jeans with a crop top that has one of these knots in it. I remember that the first time I attempted it myself after seeing her pull it off so well, I just couldn’t stray from the elementary school knot I use to make. Finally, I decided to ask her to give me a step-by-step tutorial on how to become an instant knot-filled T-shirt rebel.
First, pick the place on the top you want the knot to be. The Fashionista noted, “It totally depends on the look you want and the type of shirt you’re wearing where and how many knots you do.” She says, “The knots could go in the front, back, side; you could do one, two, sometimes even three knots.” Next, collect the fabric you want to tie up, and then twist that fabric to make it more manageable. You will continue the twist until it naturally forms a knot upon itself. Here, the Fashionista commented that “before pulling the fabric through, tighten the shirt based upon where you want the actual knot to be, whether it’s closer to the body or further at the end.” To finish, pull the end of the fabric through the knot. If there’s enough fabric leftover, wrap the extra bit around the knot again and tuck it in or safety pin it down on the inside of the shirt.
Voila! Now you have an adorable yet sophisticated knot that adds just the right amount of something to your daily look.

