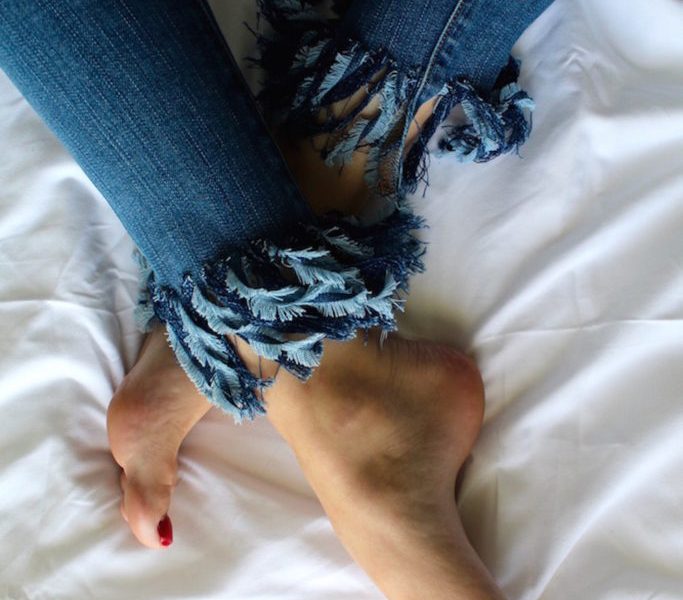
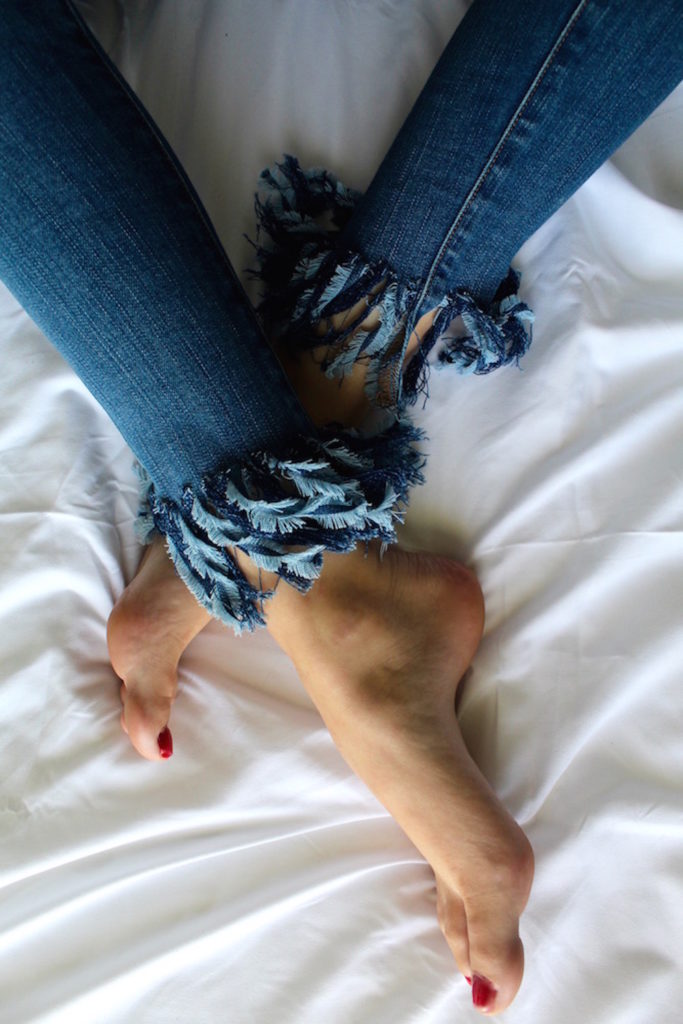
I absolutely love keeping up with trends, even if I know they’re only here for a moment. What I don’t love however is breaking my bank account on things that aren’t classic staples I’ll keep around. One of my favorite trends currently is fringe jeans so I’m going to show you how to make your own on a budget with stuff you probably already have laying around.
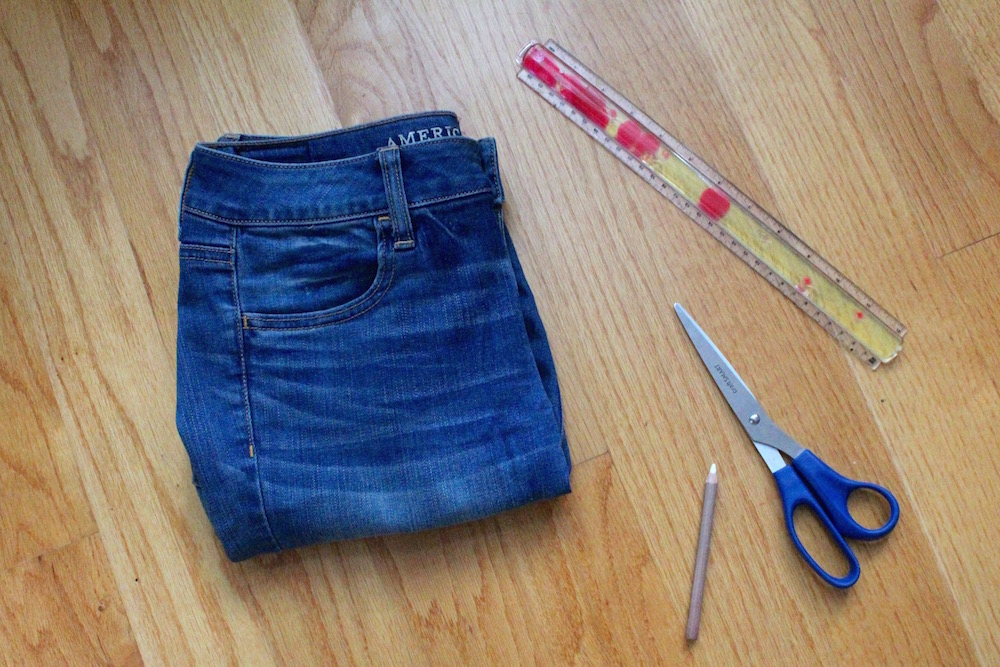
1—Gather your materials. For this project, you’re only going to need a few things: a ruler, a pair of scissors, a piece of chalk or chalk pencil, and a pair of your preferred jeans (I used a pair of skinny medium wash American Eagle Outfitters jeans).
2—Remove the hem. It’s as simple as it sounds, simply trim off the hem from each ankle of the jeans, making sure both sides are equally lined up.
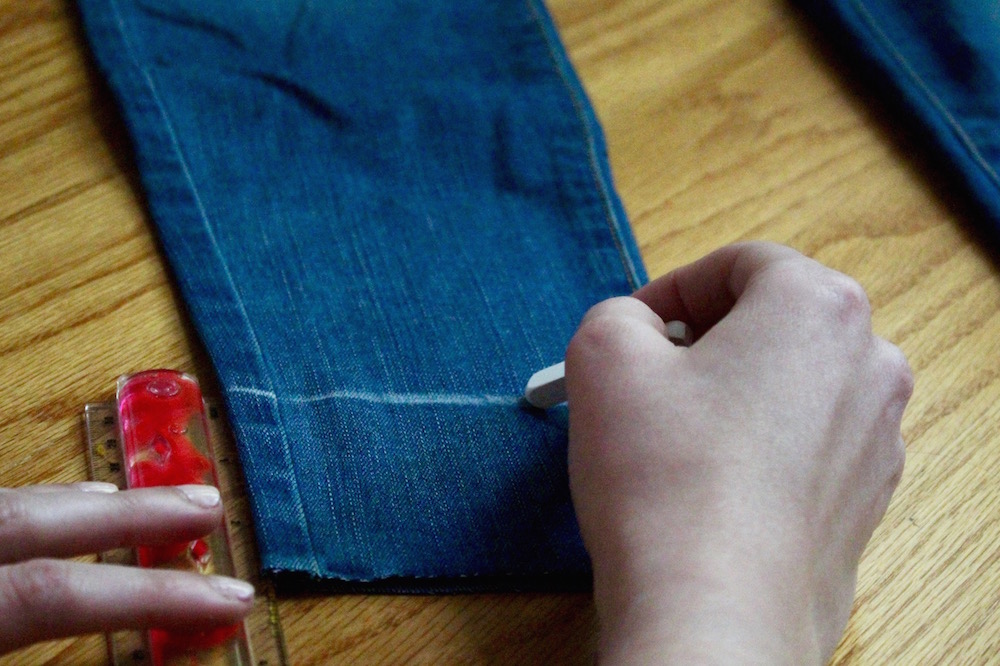
3—Mark it up. Now you want to take your ruler and measure up three inches from the bottom and draw a line with your chalk.
4—Cut some strips. You can make these as wide or thin as you want, but I found it easiest to measure the width of my index finger and cut the strips accordingly.

5—Wash and Fluff. Throw your jeans in the wash (this will create the base of fluff that will become fringe out of your strips), when they first come out they might just look like fuzzy strips, but as you pull the pieces apart they will start to spiral and make fun little twisty pieces of fringe.
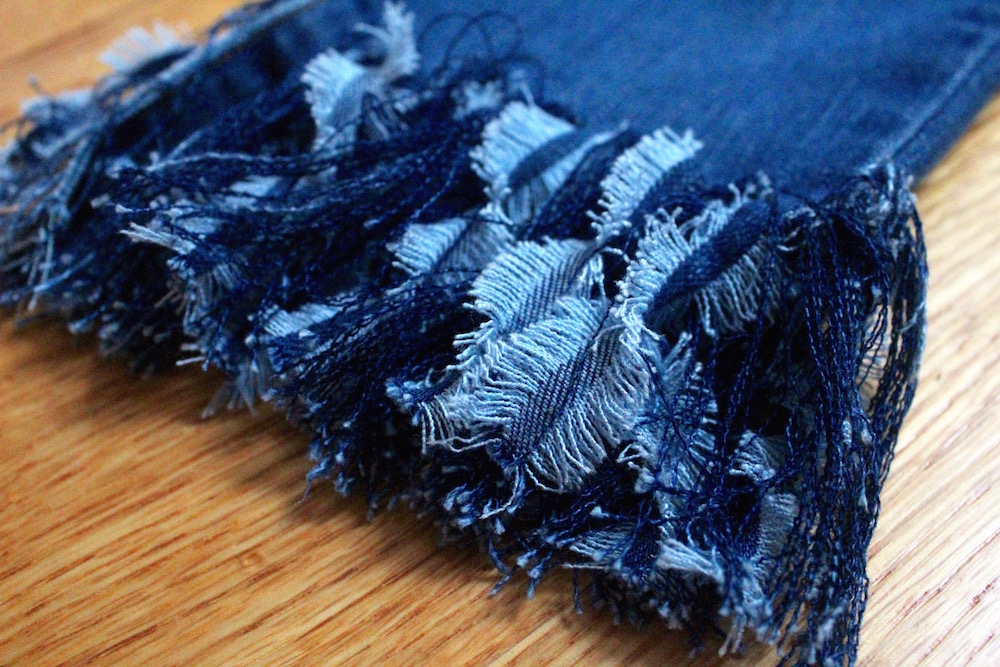
This DIY is so easy even the artistically challenged can do it and it’s super fun! I had a blast making my own little fashion statement and I know you will too!
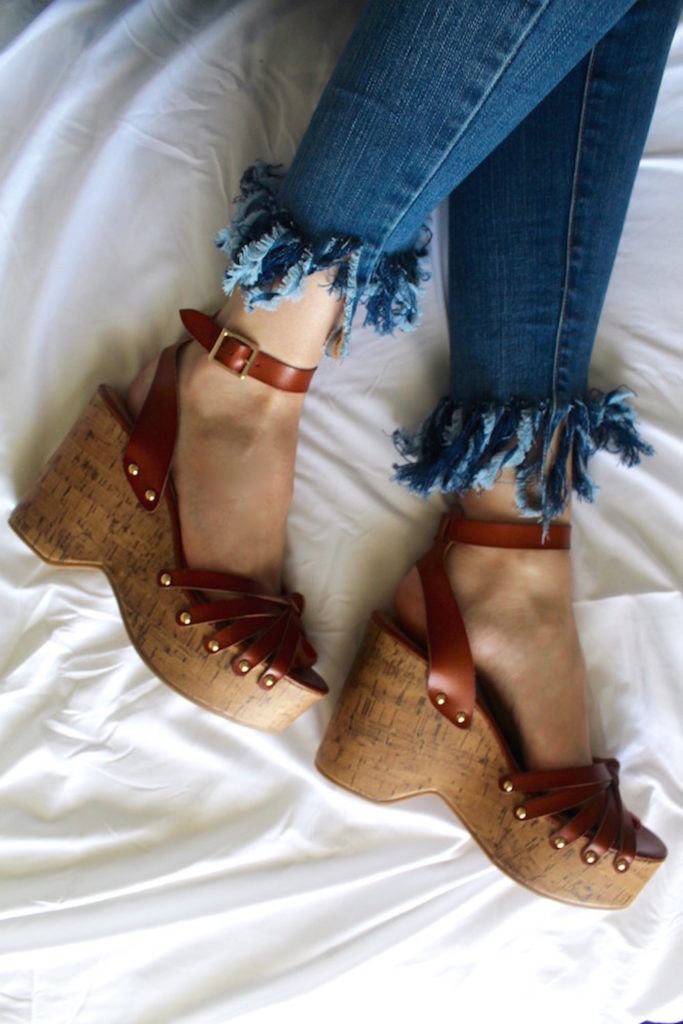
How do you DIY your outfits? Show us on social media and don’t forget to tag @Cfashionista!

