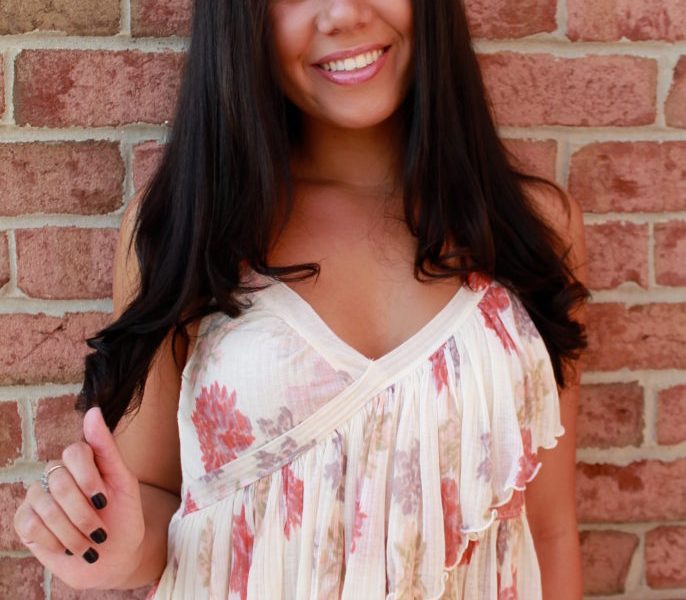
It is time to skip the salon! Summer is not meant to be spent cooped up in a salon chair. Getting the perfect blow-out from home is easier than you think! Keep reading to find out my at-home blowout tips and tricks.
I have very curly, thick hair. I would watch endless youtube video tutorials on “perfect blowout techniques,” and my hair never turned out the same as the video. This being said, perfecting your blow-out skills will take time. Don’t be discouraged if it is not perfect the first time. Once you become comfortable with your products and hair tools, it will come like second nature.

Tools and Products
The tools being used for the blowout are just as important as the technique. The product can vary—this is just what I have found works best for myself.
- Salon quality hair dryer: These dryers tend to be more expensive but are worth the investment in the end. They are more gentle on the hair follicle, dry hair faster, and increase shine. This is a major key to the perfect blowout.
- Concentrator nozzle: This is the plastic piece that attaches to the tip of the blow dryer to streamline airflow. This is another major key to the perfect blowout.
- Round brush
- Straightener
- Hair clips
- Smoothing lotion
- Heat protectant
- Hair spray
Prerequisites
- Always do a fresh blow-out on recently washed hair; this includes shampoo and conditioner.
- Allow hair to air-dry for five or ten minutes before the blowout process; I find this makes the hair easier to work with.
- Once hair has been air-dried, apply your favorite smoothing lotion to the ends.
Blowout Process
1—Apply heat protectant. Hot tools should never touch a hair follicle unless a heat protectant has been applied.
2—Divide hair into sections. My hair is so thick I divide it into three sections: bottom, middle, and top of my head. I begin with the middle and the top sections clipped up and the bottom section down.
3—Take a one-inch section from the bottom section. Place the round brush at the root of the one-inch section and pull down. Have the dryer (with concentrator nozzle attached) follow the path of the round brush.
4—As the round brush approaches the end of the hair section, begin to twist it in your hand. This twisting will cause a curl to form.
5—If the section is not completely dry or smooth repeat the last step one or two more times.
6—Once the entire section is complete, take the straightener and smooth down any pieces. This step helps reduce frizziness and increases shine.
7—Repeat the last four steps for the rest of the sections the hair is divided into.
8—Once all sections are complete shake out hair and spray with hairspray.
9—Enjoy your perfect blowout!
What is your go-to hair product this summer? Comment below! Don’t forget to snap a picture and share it with the CollegeFashionisita community. Tag @Cfashionista!

